Introduction
Winter weather can cause moisture to accumulate inside automatic pet feeders, leading to clogs, frozen mechanisms, and unreliable feeding schedules. This guide will teach readers ten essential steps to protect a smart feeder from freezing, ensuring that cats receive their meals on time even during the coldest months. By following these instructions, pet owners will preserve the longevity of their devices while maintaining the health and comfort of their animals. The information presented draws from real‑world product features and verified customer experiences.
What You'll Need
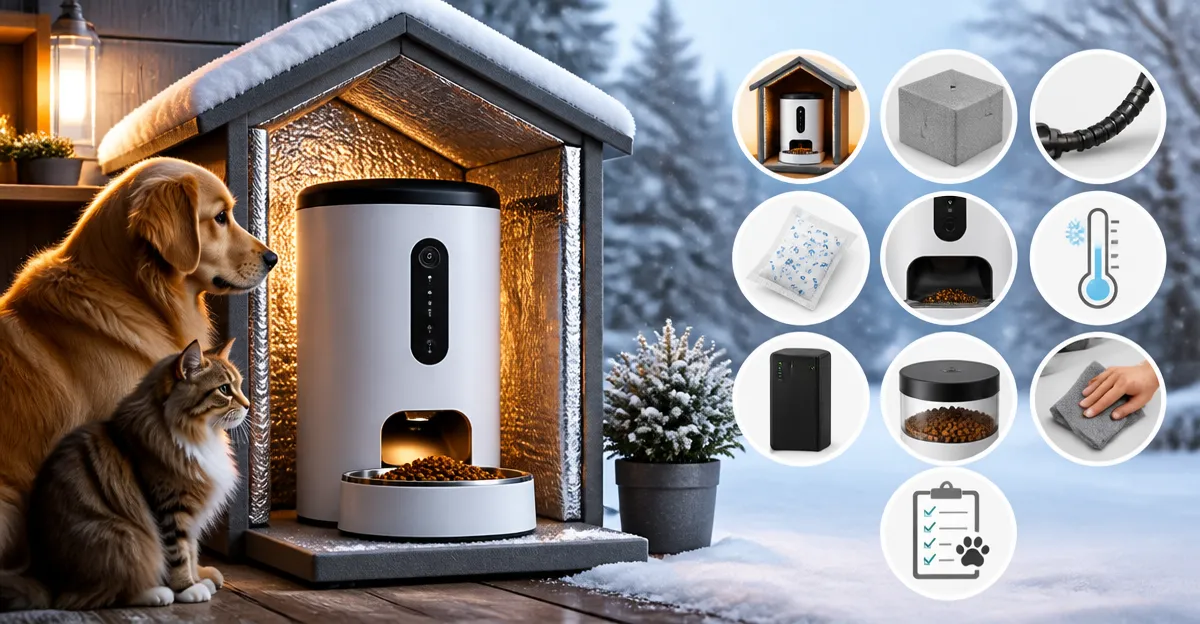
- Silicone or rubber mat to provide insulation
- Weather‑proof enclosure or insulated box
- Battery backup (AA or D‑cell) and spare batteries
- Desiccant packets to control humidity
- Portable heater or heat‑lamp (optional for extreme climates)
- One of the recommended automatic feeders (first mention linked below)
Step 1: Choose a Feeder Designed for Cold Environments
Selecting a feeder with built‑in temperature resilience reduces the need for extensive modifications. The oneisall Automatic Cat Feeder offers a 5 L capacity, a sealed multi‑layer lid, and a desiccant compartment that helps keep kibble dry. Priced at $49.99 and rated 4.6 stars by over 4,400 reviewers, it combines robust construction with a quiet voice recorder, making it suitable for indoor and sheltered outdoor use. Its stainless‑steel bowls are dishwasher‑safe, simplifying cleaning after winter exposure.
Step 2: Position the Feeder Away From Direct Wind and Snow
Even a well‑sealed feeder can suffer if wind drives snow into the hopper. Place the unit on a raised platform, such as a sturdy step stool, and orient the opening away from prevailing breezes. This placement minimizes the chance of snow entering the food chamber and reduces the temperature differential between the feeder and the surrounding air. If the home layout forces a less‑ideal spot, consider a protective canopy made from clear acrylic to shield the device without obstructing the voice‑recording speaker.
Step 3: Insulate the Hopper With a Silicone Mat
Silicone mats act as thermal buffers, slowing heat loss from the feeder's interior. Cut a mat to fit the base of the VOLUAS Automatic Cat Feeder, which holds 4 L of dry food. The VOLUAS model costs $41.79, enjoys a 4.4‑star rating, and includes an LCD screen for easy programming. By placing the feeder on a silicone mat, owners create a thin layer of insulation that reduces the likelihood of the food freezing during sub‑zero nights.
Step 4: Add Desiccant Packs to Control Moisture
Moisture condensation is the primary cause of food clumping and subsequent freezing. Both the IMIPAW Automatic Cat Feeder and the ANDOLL HOME Automatic Cat Feeder feature built‑in desiccant compartments. The IMIPAW feeder, priced at $29.99 with a 4.4‑star rating, holds 3 L of food and includes a removable desiccant bag that absorbs excess humidity. The ANDOLL HOME model, also $29.99 and rated 4.4 stars, uses a similar system. Insert a fresh desiccant packet each month to keep kibble crisp and prevent ice formation inside the hopper.
Step 5: Secure a Reliable Power Source
Power interruptions are common during winter storms, and a feeder that loses electricity may stop dispensing food. All recommended models support dual power: wall adapter plus battery backup. The VOLUAS feeder can operate on a 5 V USB adapter or three D‑cell batteries (not included). The IMIPAW and ANDOLL HOME units accept AA or D‑cell batteries. Keep a set of high‑capacity alkaline batteries on hand and install them according to the manufacturer's instructions. This redundancy ensures continuous operation even when the grid fails.
Step 6: Program Smaller, More Frequent Meals
Feeding smaller portions more often reduces the amount of food exposed to cold air at any one time. The oneisall feeder allows up to six meals per day, each portion measuring roughly 10 g. The VOLUAS model offers 0‑40 portion choices per meal, with each portion approximately 6‑7 g. By configuring six to eight modest meals, the feeder maintains a relatively warm interior temperature, decreasing the chance of a single large serving freezing solid.
Step 7: Use a Weather‑Proof Enclosure for Outdoor Placement
If the feeder must remain outdoors, encase it in a weather‑proof box that provides additional insulation. Choose a clear polycarbonate enclosure that allows the voice recorder to be heard while shielding the unit from snow and wind. Ensure the box has ventilation holes covered with fine mesh to prevent condensation buildup. Place the enclosure on a raised, non‑conductive surface such as a wooden pallet to avoid direct contact with frozen ground.
Step 8: Monitor Temperature With a Simple Thermometer
Installing a small digital thermometer near the feeder gives real‑time feedback on ambient conditions. When temperatures dip below 32 °F (0 °C), consider activating a low‑wattage heat lamp positioned safely away from flammable materials. The heat source should raise the immediate area by only a few degrees, enough to keep the hopper above freezing without overheating the food.
Step 9: Perform Weekly Winter Maintenance Checks
Regular inspection prevents minor issues from becoming major failures. Remove the food bowl, wipe any moisture from the interior, and verify that the desiccant packet is still effective. Test the voice recording function to ensure the speaker is not obstructed by frost. Re‑calibrate the portion settings if the feeder has experienced temperature‑induced drift, and replace batteries if the indicator shows low power.
Step 10: Record a Calm Voice Message to Encourage Eating
Both the oneisall and SureFeed feeders support a 10‑second voice recording. A soothing tone can comfort pets that are reluctant to eat in colder conditions. The SureFeed Microchip Pet Feeder, priced at $169.99 with a 4.2‑star rating, also records a message and opens only for the designated animal, preventing food theft. While this feeder is more expensive, its microchip recognition is invaluable for multi‑pet households where diet segregation is critical during winter when feeding times may shift.
Tips & Pro Tips
- Store spare batteries in a warm room to preserve charge during extreme cold.
- Rotate desiccant packets every 30 days for optimal moisture absorption.
- Test the feeder on a cold night before a prolonged storm to confirm reliable operation.
- Use a non‑slip rubber mat under the feeder to prevent it from sliding on icy surfaces.
- Consider adding a small LED indicator that blinks when a meal is dispensed; this helps owners verify that the device functioned during power outages.
Troubleshooting
Problem: Food does not dispense at the scheduled time.
Solution: Verify that the feeder is receiving power, either from the wall adapter or batteries. Check that the hopper is not frozen by gently tapping the side; if ice is present, increase ambient temperature or add a heat lamp for a short period.
Problem: Voice recording is not audible.
Solution: Ensure the speaker grille is free of snow or dust. Re‑record the message at a slightly higher volume, and confirm that the volume setting on the device is not muted.
Conclusion
Winterproofing a smart pet feeder involves strategic placement, insulation, moisture control, and reliable power management. By following the ten steps outlined above, owners can safeguard their devices against freezing, maintain consistent feeding schedules, and protect the health of their cats throughout the cold season. Implementing these practices not only extends the lifespan of the feeder but also provides peace of mind during winter storms.
Products Mentioned in This Guide
Frequently Asked Questions
How can I protect my smart pet feeder from freezing in winter?
Place the feeder inside a weather‑proof insulated box, add a silicone mat for insulation, and use desiccant packets to reduce moisture.
Do I need a battery backup for my feeder during cold weather?
Yes, use fresh AA or D‑cell batteries and keep spares nearby to ensure feeding continues if power drops.
Can a portable heater be used safely with an automatic feeder?
A low‑heat heat‑lamp or small heater can be positioned outside the feeder enclosure to keep the interior above freezing, but never place it directly on the device.
What type of feeder is best for cold climates?
Choose a model marketed for low‑temperature operation, with sealed mechanisms and insulated components.
How often should I check for moisture buildup in my feeder?
Inspect the feeder and replace desiccant packets at least once a week during winter to prevent clogs and frozen parts.